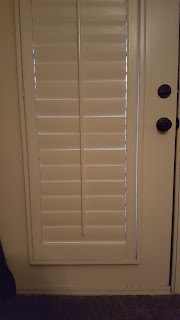
Repairing Shutters
A few weeks ago I noticed that a part of the wooden shutters in our bedroom had broken off. It didn't really affect the operation of the shutters, you could still close them up or open them but that one slat would sort of hang crooked. Last week it finally was bothering me enough to do something about it. This was a fairly easy and quick repair once I had a plan in mind for how to fix it. I didn't want to have to take the entire shutter assembly apart or find/make a whole new slat. To save time and money, I decided I would use a sort of wooden plug and stick it in place to repair that section. I fashioned a small piece of wood roughly the size and shape of the piece that had broken off. Then I used some JB weld epoxy putty I had leftover from another project to stick it in place. The epoxy putty is some pretty strong stuff once it sets up. I figure it'll hold the shutter well enough. It doesn't have to support much weight or stress, it just needs to hold that slat onto the pin so it can rotate. I let it dry for a day and then I painted over the repair using some old white paint I had leftover from Ryan's room. Total money spent on the repair: $0 and it operates and looks almost as good as new.
 |
| Broken Shutter Before |
 |
| Broken Shutter Up Close |
 |
| Wooden Plug |
 |
| Fits Just Right |
 |
| JB Weld |
 |
| Wood and Expoxy Putty in Place |
 |
| Painted Up to Match |
 |
| Shutters After |

No comments:
Post a Comment